
I blogged some time ago about how to “normalize” a Citrix Provisioning Services vDisk on an AppSense level when you are updating a gold image. AppSense isn’t the only piece of software that needs some manual normalization routines – I’ve seen it done with AV and system monitoring tools, amongst others. However, an incident recently where someone updated a gold image and forgot to perform the manual normalization routines got me thinking. AppSense EM should be able to handle at least part of this for you, as long as the gold image has picked its configuration up when it was booted. The wide-ranging problems that can occur as part of a bad gold image update certainly made me think this was at least worth some further investigation.
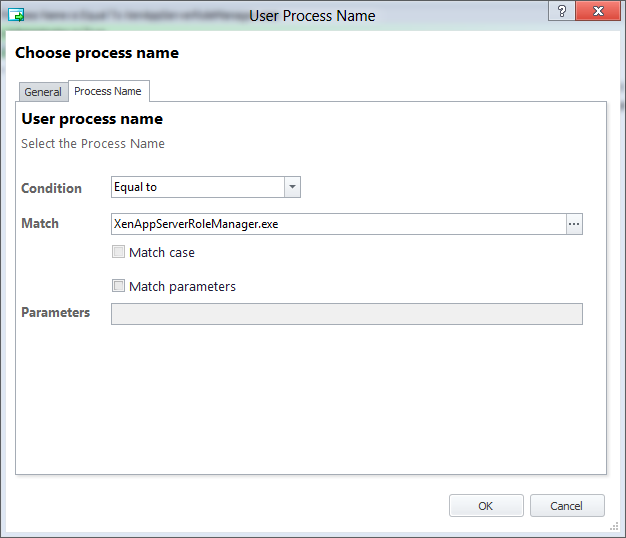
When you start to prepare your updated gold image for imaging and provisioning you normally launch the XenApp Server Role Manager (I’m talking specifically about XenApp 6 and 6.5 here, but you could easily extend this to XenDesktop images with a bit of imagination if required). So it would make sense to use the trigger for this as the XenAppServerRoleManager.exe process
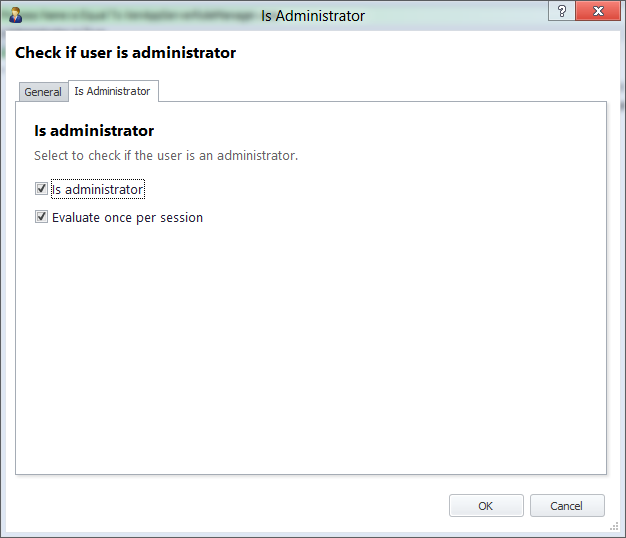
Thinking about it, it might be a good idea to put a check in to see if the user is an Administrator. Standard users shouldn’t really be running XenAppServerRoleManager.exe – it should be on the list of disallowed user applications in Application Manager, for starters – but if they somehow do, we don’t want AppSense EM to inadvertently trigger the resultant Actions. So we would now nest an Is Administrator check inside the Process Name Condition
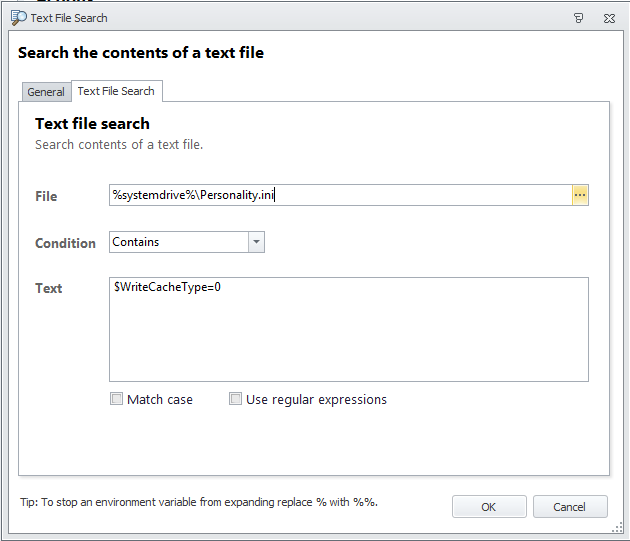
Now comes what I thought would be the hard bit – but turned out not so bad! We want to also verify that the vDisk is in Private Mode, which is usually a tell-tale sign that updates are being applied to the master image. Luckily a bit of Googling about alerted me to the existence of a string in the Personality.ini file in the root of the vDisk that we can check for using a File | Text File Search Condition. The existence of the string $WriteCacheType=0 in this file should indicate the vDisk is in Private mode, and therefore likely being updated.
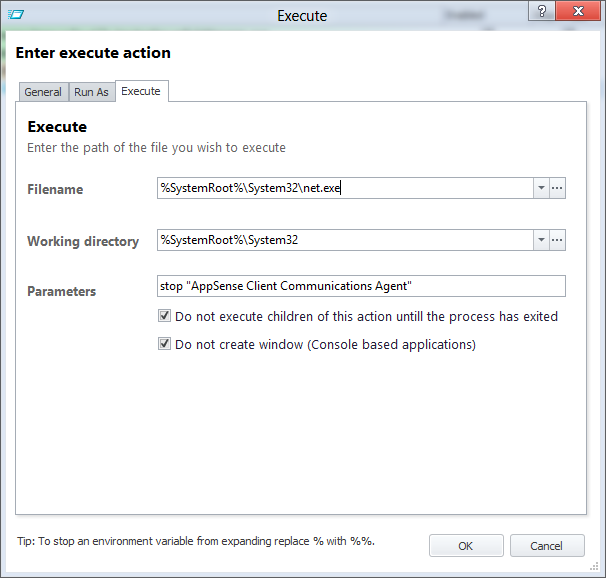
Once we’ve done this, we can automate the processes we need to run when we update the master image. Your own needs will dictate what goes here – but just to cover the things we do from an AppSense point of view, we will first stop the AppSense Client Communications Agent using an Execute Action
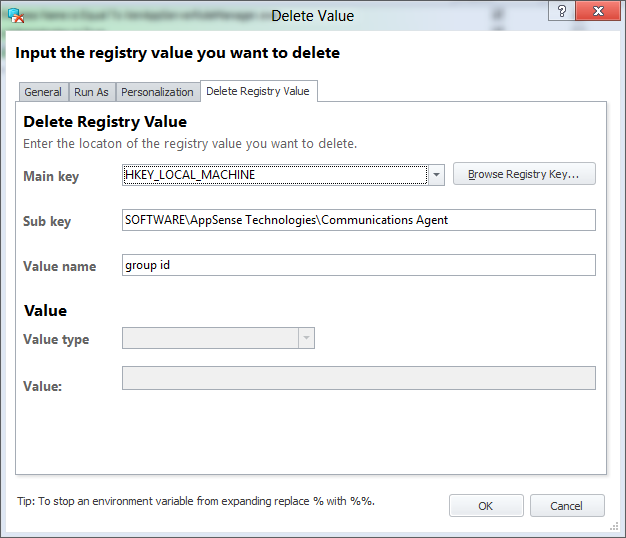
and then use some Delete Registry Value Actions to remove the AppSense entries that identify the system

Now the entire node we have created looks like this

You don’t have to stop by just doing this, though! There are other things you could trigger here too, such as running an Execute Action to start the Provisioning Services Target Device Optimizer, removing Registry entries associated with AV or monitoring tools, run defrag tools, flush the DNS cache – anything you require really prior to gold image sealing. Perhaps about the only thing you couldn’t do is remove an AppSense configuration, although I haven’t tried, but using a configuration item to remove the configuration seems a bit insane, and I’m not in a position to test it just right now! But hopefully you get the idea of how AppSense Environment Manager can be leveraged in this way to make your life, and that of your IT guys, that little bit easier.

